MK Chassis Setup System Review
Posted by: @azwcat@davidf - Sounds like you went with the full enchilada on the chassis setup. Quite an investment! Would be great to get your review on those items.
I did not forget about your review request, but it took me several months to set aside time to configure my workspace and the equipment. I will make a series of posts to describe each piece of of the system that Marty sent me, steps needed to configure and use it, and any pros/cons.
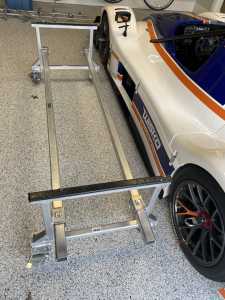
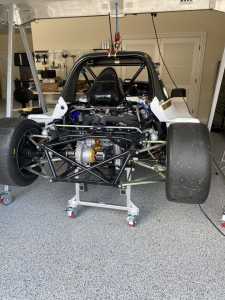
First piece of equipment is the chassis stand on heavy duty casters. It is sturdy, rolls easily on a smooth surface and can even handle some bumps but care must be taken to not slide the car on the stand when moving it. It disassembles quickly for hauling. It is easy and fast to position under the car because it rolls and it is one piece. Length is adjustable, but not height. Oh, and the casters each have an on/off lock.
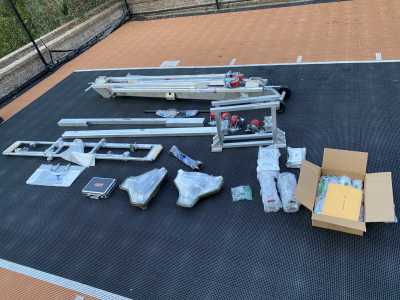
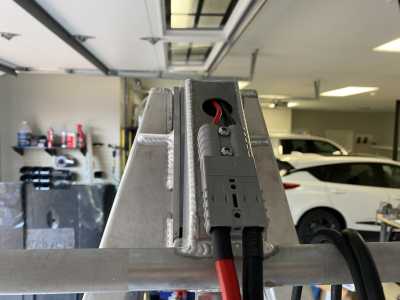
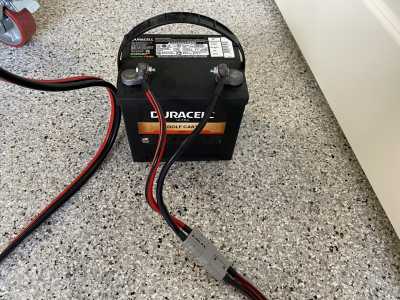
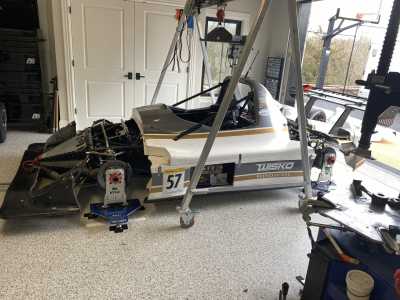
The MK hoist is 100% awesome. I use it all the time, and I usually just store it in place over a car, however it folds up for hauling and has two extra castors on the end to facilitate moving. It is heavy, but one strong person can handle it. Fortunately my garage is tall enough for this. Initially I was thinking about a two or four post lift, but the hoist is all I need and I can take it to the track. It is powered by a 12V golf cart battery which is probably overkill, but I use this battery for fuel pump out and the hoist. The unit comes with a single 30A Anderson connector; I had to make a battery harness to supply power to the winch. The winch and synthetic cable has a 2000 pound lifting capacity.
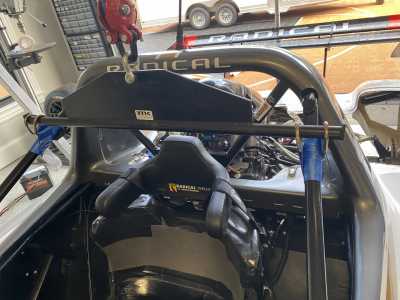
I also received a lifting harness for Radicals which works great. It can be positioned on the roll bar supports such that the car will stay level when suspended. Marty can supply lifting harnesses for any open wheel car or sports racer. I also have one for my FE2.
Folded up:
Lifting harness:
Battery harness. The cheapest solution was a set of inexpensive 6 gauge jumper cables repurposed for this harness. 30A Anderson connectors used.
The ride height or drop height measurement on a Radical is calculated from the distance between the top of the tires to specific points on the chassis. Basically, the longer the measured distance, the more the springs are compressed, and the lower the car will sit. The procedure and required 4 inch bar is described in the Radical owner's manual.
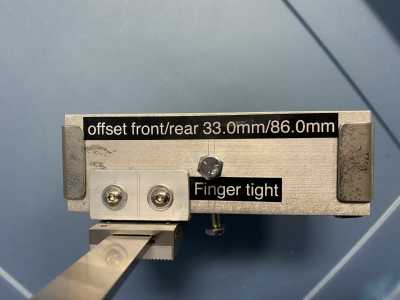
I received a 4 inch aluminum bar from Marty which is necessary to find the offset for the setup wheel towers. Once the front and rear offsets are carefully determined, checking the drop height with setup wheels mounted is a snap, which may be more accurate than the tire method unless you are using new tires that do not have any embedded rocks and pickup. Pictures will help explain ...
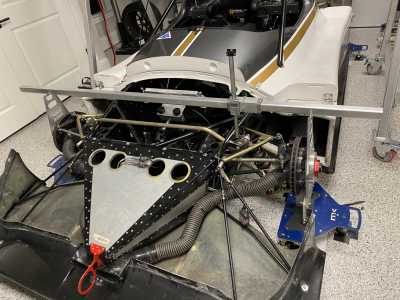
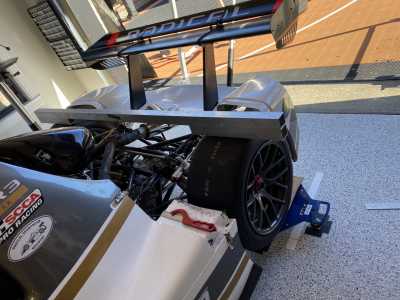
This is a setup wheel with the tower mounted on top. The towers are only used to measure drop height. The height is approximately the same height as the top of the tire, but it does not need to be exactly the same as an actual tire because we are only concerned with measuring the offset.
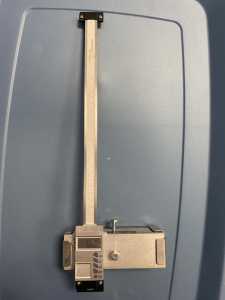
Each setup wheel has a tower to support a crossbar with a digital height gauge mounted on the crossbar.
This is the 4 inch bar that is used with the top of the tires method:
The procedure is to level the car (place on a level plane) with tires mounted (I used new tires), then use the 4 inch bar to find the drop heights front and rear with a ruler as described in the owner's manual. Then mount the setup wheels with towers and again place the car on a level plane. Now measure the drop height with the digital height gauge -- the values will be different, but since we found the actual drop height in the prior step, the difference is the offset. This offset will now apply to any other Radical SR3, SR8, SR10 because the chassis and tires are the same.
It is important to measure drop height with a leveled car. I used the scale pads and laser level which I will describe in a subsequent post. Also important is to calculate and set the radius of the setup wheels to match the radius of the tires.
Still another important and subtle detail is how camber affects the drop height measurement, and how this will introduce discrepancy between the tire and setup wheels method of measuring drop height for different camber angles, however I think I will avoid this topic for now.
I hope most of this makes sense. If not, please post questions.
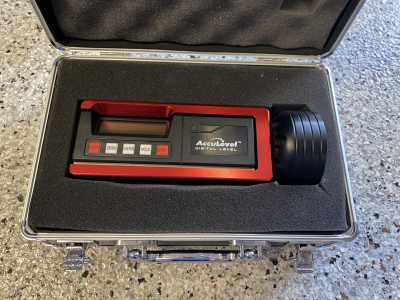
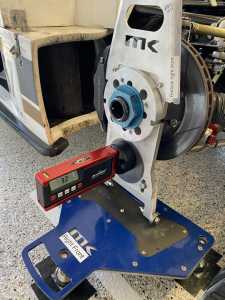
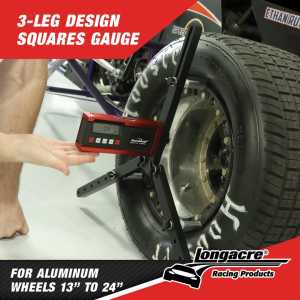
Measuring camber could not be easier. I purchased this camber/caster gauge with a magnetic adapter:
Then I found someone on Etsy.com who sells steel plates to order. I bought four 4 1/2 inch round plates, 1/16 inch thick for $4.00 each, which I then attached using clear two sided mounting tape like this:
The car needs to be on a level plane which is again satisfied with the scale pads. Stick the gauge and turn it on, and it gives you the readout. Of course you either need to simulate the driver weight or get the driver in the car to get the most accurate reading. One person can make the camber adjustment while the gauge is stuck to the steel plate.
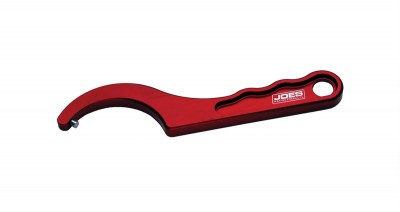
It is no problem to adjust the high speed bump compression and rebound with your fingers, but for the low speed bump I use a 4mm deep socket and twist this with my fingers. For the springs it is helpful to have a spanner to adjust. I use an aluminum anodized spanner wrench made by Joes Racing to avoid scratching the perch rings:
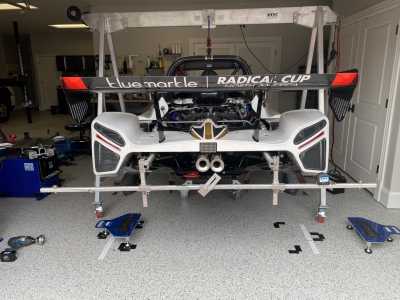
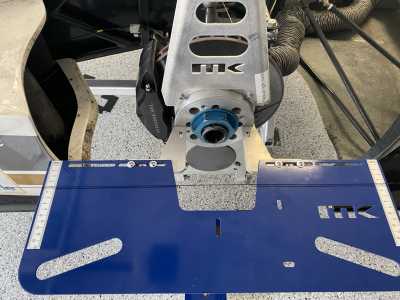
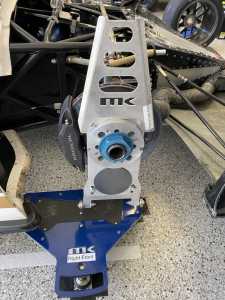
I really like the MK toe bars because they stay in place without moving around, and are easy to adjust side-to-side, making it easy to configure the toe strings the same distance from each of the wheel hubs. I also like the MK toe measuring board that fits into the setup wheel slots better than measuring from the wheel rims, however either method is possible with the toe system. If you don't want to mount the setup wheels to check toe at the track, you can measure from the front and back of the wheel rims using a ruler.
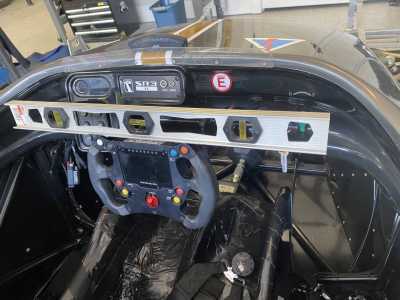
The owners manual says to replace the steering wheel with a "dummy wheel" to lock it in place, centered, before adjusting the toe. I have no idea what that is or where to find one, so I asked Marty for a steering shaft locking device, and he said he has just what I need:
The feet that sit on the frame tube can be adjusted up and down, allowing precise centering of the steering wheel and keeps it in place during toe adjustment.
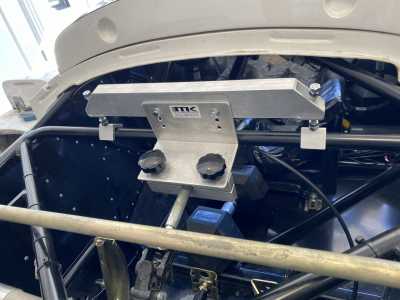
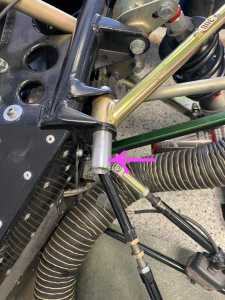
These aluminum cylinder and bolts replace the factory bolt with another bolt that holds the cylinder in place. This is where the toe bar mounts. There are two for the front and two for the rear.
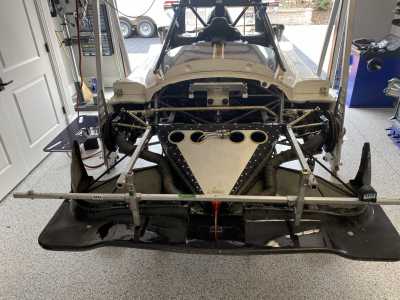
The toe bar slips over these cylinders, with thumbscrews to hold it in place.
This looks complicated, but once the height of the toe bar is established it does not need to be re-adjusted. Only the side to side needs to be adjusted and that can be done quickly.
I had the car up on the stand for the photo, but I lowered it onto the scale pads before adjusting the toe.
The toe board has two metal rules spaced 22 5/8 inches apart. Because this is wider than a wheel, it makes it easier see the toe difference front to rear. The front/rear wheels are 15 and 16 inches diameter, so for 2mm of toe, I set the toe on the board at 3mm (22.625/15.5 is about 1.5).
After the car is on the scale pads with setup wheels mounted, it takes about five to ten minutes to set the toe from start to finish. Very easy and very accurate.
There are two corner weighting equipment systems in use -- one which uses ramps and weighs the corners with the tires mounted, and one that uses setup wheels mounted. Since I am pretty new to setting up a race car chassis, I am not qualified to provide an opinion on which is easier or more accurate, but I will say that my car was maintained by a shop (WISKO Racing) that uses the ramp and tire-mounted method, and when I checked my corner weights with the setup wheels, the corners were balanced as good as can be. So I believe either system is good, and that as long as the scale pads are leveled well, each will provide good measurements. The owner's manual describes the ramp system which requires rolling the car back and forth an rechecking; with setup wheels there is no rolling back and forth but instead I lift the car and set it back down to check weights (and camber).
This is a setup wheel:
Marty sent instructions to first compute the radius of the tire and then adjust the setup wheel to have the same radius. I measured the circumference of the front and rear tires with a tailor's measuring tape, solved for radius with the C = 2*pi*r formula, and then carefully set the length of the setup wheel radiuses to match the two front and two rear tires. The critical measurement is that the length of the left and right pairs need to be exactly the same length radius side to side. If for example the left rear setup wheel is shorter than the right rear, then the left rear and right front corners will measure light, which will cause you to add weight to those corners when you adjust the corner weights, and then the car will not have good corner weights which is bad. Anyway, setting the setup wheel radius is not that hard and no special equipment other than a workbench, pencil, and tape measure are needed. And this only needs to be done once. The top of the setup wheel is 3 inches longer than the hub center, so I used this length and a mark on the wall above my workbench to know that the setup wheels were exactly the same height for each side pair.
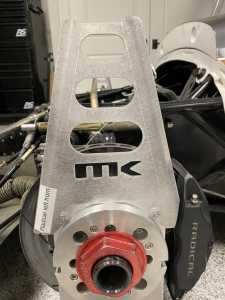
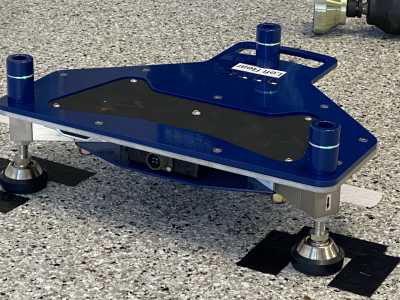
The setup wheels use the same wheel nut as the wheels and have four holes to receive the hub bolts.
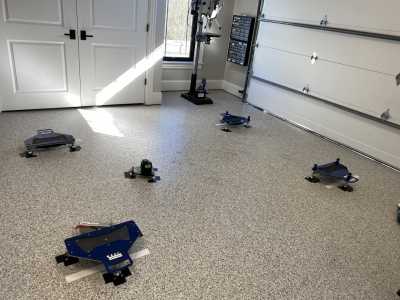
I marked my shop floor where to position each tire, and also the location of the three adjustable legs of each scale pad. This needs to be done once for each work site, so each time you go to the track, you would need to apply the same procedure of placing and leveling the scale pads.
You can use air jacks, or a quick lift scissor jack on the front and floor jack on the back, or the A-frame lift to lift the car and place the scale pads under the setup wheels. If you use the scissor jack method, then you need to account for the amount of rearward movement when you lower the jack, but it works fine and it gets the front end up high enough to clear the scale pads.
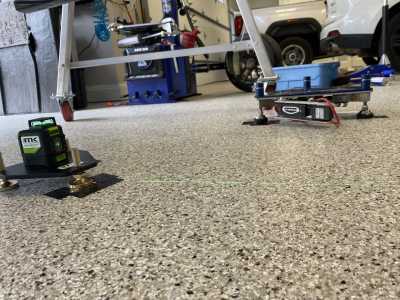
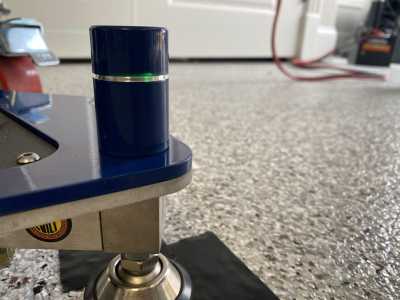
The scale pads come with level guide insert cylinders and a laser level with platform. It does a good job of leveling the pads and is fast, but I am not sure whether the laser will be visible in the sunlight, so this might be a drawback. If the laser does not work well in daylight, then we will either need to set this up in a garage at the track or under a canopy, or possibly invest in long mechanical bubble levels which is what many teams use at the track to level their scale pads.
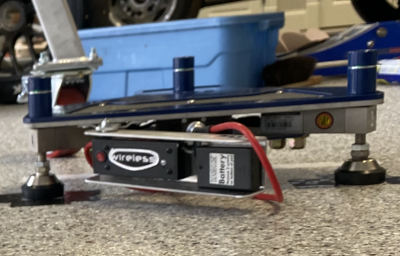
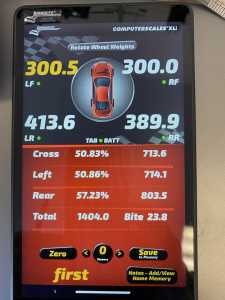
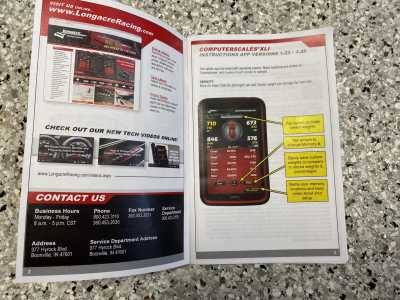
The last pieces of the system is a wireless corner weight and tablet system from Longacre, which is integrated into the MK scale pads.
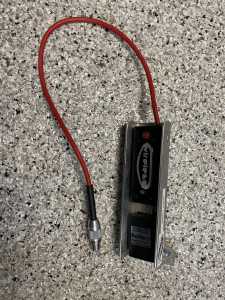
The wireless corner weight transmitter devices slide into the scale pads. You turn on the tablet, open the app, turn on each of the wireless transmitters, and it just works. No math, no thinking -- you can just start adjusting corner weights.
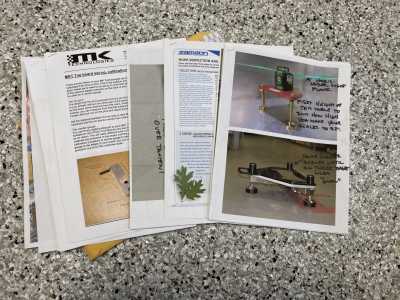
Also a packet of instructions and photos.
That covers all of the pieces of the MK setup equipment. I am 100% satisfied and I had zero problems using all of it. I have no financial interest in MK and I am not shilling; Marty is a good guy and the racing community is small. He knows a lot about race car engineering and setup, and the craftsmanship and thought that went into this equipment make me feel fortunate to have purchased it.
Posted by: @charleyhradicalsportscarregistry-comThe Registry Sticker looks great on your car too... I understand that they make the cars much faster. 🙂
I do recall my lap times began trending lower after I applied these. 😀
Wow David, this is an amazing setup. Thanks for detailing this all out for the community. Having the right equipment makes all the difference.
Is there a way to use the camber gauge without the setup wheel?
My pleasure.
With tires mounted, you could make an adapter that fits inside the perimeter of the wheel and either hold the gauge firmly against the adapter or do what I did and attach a steel plate. So something like a 5 inch wide aluminum plate that is the diameter of the wheels. Alternatively, Longacre makes an adapter for this gauge:

