

I don't know. I would guess that leaded fuel would not cause issues other than some plug fouling, but the idea of making a 3 hour round trip and mixing fuel (which sounds dangerous) to save money seems inconvenient. There is 100 octane racing fuel at every track pump I have seen.
If you are not planning to drive on the track, for example autocross or hill climbs, then it might be easier and safer to purchase a 55 gallon drum from VP Racing or Sunoco. Northern Tool sells several nice transfer pumps for fuel drums. When I fuel my race cars from a drum, I use the tranfer pump to fill 5 gallon jugs, and then I use the jugs to fill the tank.
@davidf well the reason I want some fuel is I am waiting for delivery of my car. I live in a rural area and was going to drive a few miles on the highway to get a feel for the car so I wanted it with fuel. I'll just be like every non street legal side by side, dune buggy, golf cart, and 4 wheeler that people drive on the road here. Also, everyone doesn't have fuel here in some smaller private owned tracks. Mixing fuel is just filling my fuel external tank up with 1/2 of the two fuels. Not really dangerous. Just like filling up any external fuel container at the station...just like for your lawnmower just on a bigger scale. I can get 98 at a pump so I may just do that. I just didn't want detonation if lower than 100..that's why I asked about mixing 110 with regular pump 93.
-

Car is here and I need some help. So how do I wire these lights? It looks like the harness is there and also I see wires coming out of the switches but before I start cutting zip ties and taking stuff apart…. Is this just going to be plug and play? I see the main large harness but there are 4 small female open butt connectors zip tied to the large harness. Any advice is appreciated!!


Aim MXL is not compatible with Race Studio3. You must download and use 2 if you want to connect to the MXL.

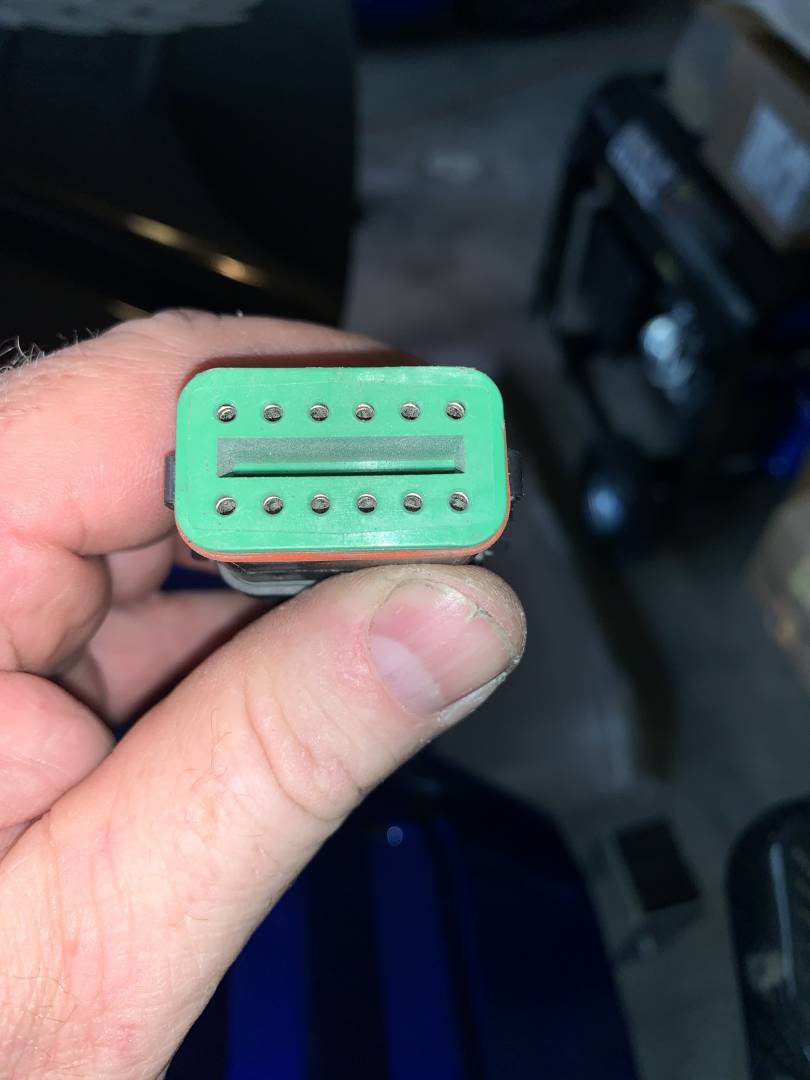
My 09 car has the full head lights wired. They should be wired to a plug in the left or port side of the car(driver side if it is a left hand drive car) near the back of the front tire. Mine looks like this…


@jking85 I’ll look. But I still have the 4 open connectors besides the big plug. I think when I downloaded Race studio3 it also has 2. Thanks. Brake lights not working either but the prior owner thinks he might have forgotten to replug when he replaced the rear clamshell.
Thank you @jking85. So I have lights and blinkers. Does that mean my car was a street legal version? I don’t have but two bulbs working and swapping from light to light to try and figure out how the switches work. I had a Cobra that had all the flip headlight switches so I’m figuring it out!! I assume top is high beam flip up… bottom is low besm flip down. Hope I can get these bulbs at Oreilys or Advanced.
I have a sports racer that was converted from a FF so I’m loving how well laid out this car is just hard finding everything when I couldn’t download the mechanics manual.
I love working troubleshooting myself as long as I can figure it out!!!

I don't have the extra connectors, but my car has working turn signals and all the lights to be street legal, but it was not. My car started life as a Spring Mountain racing school car. I think all that is wired standard.
The rear bulbs are pretty standard and can be had at any Advanced, autozone or O’reilly’s. Won’t be that expensive to just replace. The head light bulb might be a bit more, but I would just buy all new and be done with it. The owners manual says what each switch is.
Anyone know where to get this bulb socket? It fits in the bottom of the top headlight housing. One is broken. This one is fine.

@rjbender Hi Rod, I hope all is well. Did you make he carbon fiber sun shield for your MX2 pictured in this post? If not, where could I purchase one? Thanks.
Jay
@bird - Hi Jay, Yes. That's another thing I made and helps enormously when you are trying to maximise the use of the RPM shift lights in bright sunlight.
I had some thin black plastic sheet at home that I found could be 'formed' to the shape when heated with a hot air gun. I shaped the sun shield (basically a rectangle with two corners rounded off) and then bent it to the contour of the MXL2 frame. It's held on with two very thin strip of double sided tape and to make it look ok I added some carbon fibre wrap to the top surface. Took a total of around an hour to make once I had the idea sorted out.

Rod
@rjbender You are a true fabricator Rod! Thank you for the quick response. Can you post the dimensions and thickness of the material if you don’t mind. Thank you.
@bird - Hi Jay, Main dimensions are 40mm wide and 215mm long. The material I used is 2.5mm thick (anything between 1.5 and 3mm would work really, as long as it can be formed to shape with heat.... or if it's thin enough then the double sided tape would probably be enough to hold it to the shape and there would be less need to 'pre-form' the shape)


Hope this helps... Rod